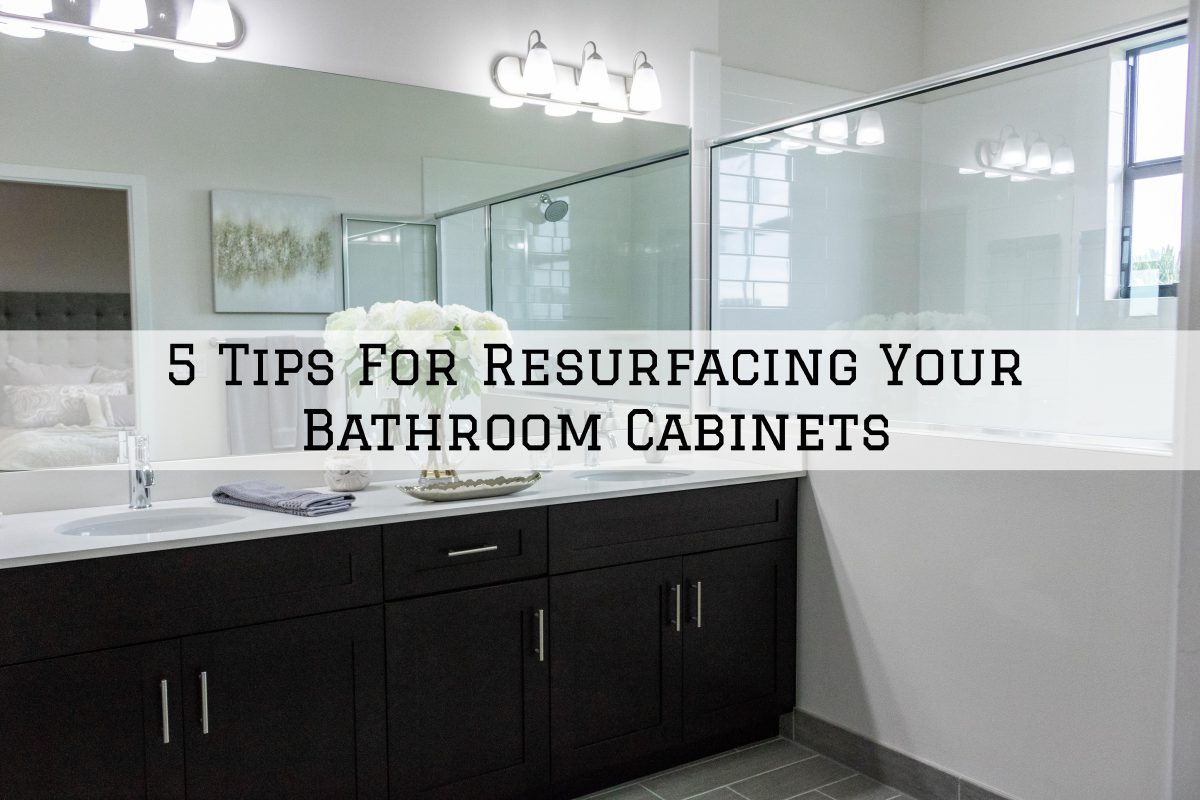
5 Tips For Resurfacing Your Bathroom Cabinets in Washington, MI
If your bathroom cabinet looks a bit outdated, you might want to consider resurfacing it to give it a new look.
Buying a replacement can be quite expensive and not practical at all especially if you can still utilize your existing cabinet.
Here are 5 tips for resurfacing your bathroom cabinets in Washington, MI.
1. Repair Your Bathroom Cabinet
Before you start resurfacing your bathroom cabinet, you should make sure if there is any problem that needs to be fixed.
Check if there are any cracks or scratches in your bathroom cabinet — these are common problems that you need to repair.
Resurfacing your bathroom cabinet can’t solve structural problems, so you should do any necessary repairs that might get in your way.
2. Resurfacing Materials
There are a lot of materials that you can use to update the appearance of your bathroom cabinet when it comes to resurfacing it.
Here are 3 typically used resurfacing materials.
A. Wood Veneer
If you love the look of real wood, wood veneer is the right resurfacing material for your bathroom cabinet.
Wood veneer comes in sheets; it can be cut to fit the size of your cabinet.
To avoid scratches, use a cabinet-grade veneer when resurfacing your bathroom cabinet.
B. Rigid Thermofoil (RTF)
Rigid thermofoil (RTF) is the most affordable choice if you’re looking for something that will suit your budget.
It is a vinyl material that when applied with heat and pressure, can fit and be molded over your bathroom cabinet.
Unfortunately, it can be easily damaged by kitchen heat and discoloration might occur as you use it for a long period of time.
C. Install New Doors And Drawers
Some people are sometimes unhappy with their cabinets but at the same time don’t want to replace them.
If you’re like them, one option for you is to replace the doors and drawers of your bathroom cabinet.
It may be the most expensive type of resurfacing, but it will surely satisfy you.
3. Sand The Exterior Surfaces
You should remove all the doors, drawers, or anything that might get in the way as you sand the exterior surfaces of your bathroom cabinet.
After removing, lightly sand all the exterior surfaces with fine-grit sandpaper and wipe off any grease or oils on it.
Instead of using a power sander that can possibly war openings, use a sanding block and 150-grit sandpaper.
4. Make Sure That You Cut Accurately
If you’re using a wood veneer as your resurfacing material, make sure to cut with extreme precision so that it will fit the surfaces of your bathroom cabinet.
Measure the exterior surfaces of the cabinet that will be covered with wood veneer cuts; this is a very important task in resurfacing your bathroom cabinet.
You might want to consider making a “cut list” — a list that contains all the exact measures and sizes of each wood veneer piece that is needed to cover your cabinet.
You should make accurate cuts so that the strips meet tightly; it would be quite troublesome if there’s excess wood after putting it on the surface of your cabinet.
5. You Should Be Patient
You should be extremely patient in doing this kind of job — you don’t need to rush between paints or varnish coats and let them dry completely.
The only way to have a smooth finish instead of a bumpy look is to lightly sand and wipe down between paints or varnish coats.
Take your time aligning the wood veneer to the cabinet properly because once it is pressed into your bathroom cabinet, it can’t be removed.
If you need professional help with your interior painting project, Eason Painting can help.
Our home interior painting services are available in Washington Township, Rochester, Romeo, Shelby Township, Harrison Township, and Clinton Township, MI.
Call us today at 586-465-5081 for a FREE painting estimate.
Related: Resurfacing Your Cabinets in Harrison Twp MI: The Benefits

