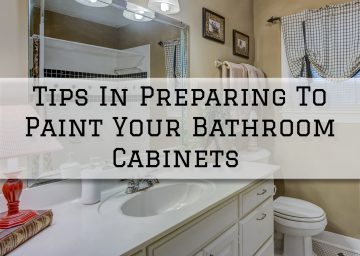
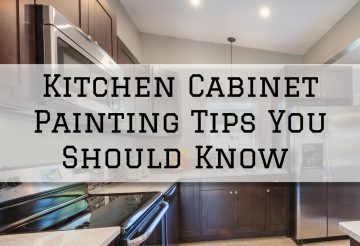
Kitchen Cabinet Painting Tips You Should Know in Richmond, MI
Our kitchen cabinets are more than just their immediate purpose, which is to store our kitchen essentials, since they actually contribute to our kitchen’s overall appeal and can come in so many beautiful design variations.
Thus, it is important for our kitchen cabinets to receive the necessary maintenance from time to time, which can be best done through a fresh coat of paint.
So, if you are currently undertaking a kitchen cabinet painting project and are looking for tips to help you in doing so, here’s something perfect for you!
Without further ado, here are Kitchen Cabinet Painting Tips You Should Know.
1. Surface Preparation Before Anything Else
In painting your kitchen cabinets, one of the first things that you should be doing would be surface preparation.
In any painting project, doing proper surface preparation will always be an essential process to take – and it is even more important when you are painting your kitchen cabinets.
Over time your kitchen cabinets will have some kind of build-up of grease, muck, dirt, and even some food that may have gotten stuck on there – which, you will have to remove before adding any coat of paint on them.
Additionally, you will also want to inspect your kitchen cabinets for any signs of damage and repair them accordingly – no amount of paint will ever be able to completely conceal physical damage on a surface, so it is necessary that you get them patched up, if there are any.
A properly prepared surface will result in a clean, smooth, and seamless paint finish – which is essentially the result that you want out of your painting project.
2. Empty Your Cabinets
Of course, when you are painting your kitchen cabinets, you will want to empty your cabinets first before painting them.
Since your kitchen cabinets are essentially in your kitchen for storage, they will have some kitchen essentials and other things in them – which you will have to temporarily relocate since, you’re going to be painting them.
This is a very obvious and straightforward thing to do for your kitchen cabinets that need no further elaboration – so make sure to do this step flawlessly!
3. Use Painter’s Tape
Since you are going to be painting your kitchen cabinets, you will want to employ the use of painter’s tape in your project.
It can be especially hard to paint the edges and corners of your cabinets without getting paint smudges all over them, so painter’s tape will be of great use for this problem.
Painter’s tape will ensure that you have straight-cut edges for your borders, and no smudges or smears to clean off your walls after painting – which can be a tedious task to do post-painting!
However, just make sure that you don’t let the tape on for too long on the surface, since its adhesive might stick on the fresh coat of paint, eventually peeling them off once you decide to remove the tape.
4. Cover Nearby Area With Dropcloths
Because paint drips or spills will be a natural part of any painting project (this is just a natural tendency when you are working with a substance like paint!), you will want to have some form of cover for your kitchen fixtures or the area near your cabinets – which is what a dropcloth is for.
Dropcloths will be a handy solution for these pesky paint drips and spills, as you only need to cover them with it!
However, it is advised that you use a canvas-type dropcloth, as this is the type that doesn’t let paint seep through it – so you can ensure that your kitchen fixtures are spotless after painting!
5. Remove Your Cabinet Doors
Lastly, in painting your kitchen cabinets, a great tip to know would be to remove your cabinet doors prior to painting them.
Your cabinet doors will be very unstable to paint on when they are on your cabinets, since they can swivel back and forth – and will be doing so when you are painting them.
So, a great solution for this would be to remove them from your cabinet and lay them flat on the ground!
Just remember to keep all the necessary hardware in place so you can successfully put them back on your cabinets once they are fully dry from painting.
If you need professional help with your interior painting project, Eason Painting can help.
Our home interior painting services are available in Washington Township, Rochester, Romeo, Shelby Township, Harrison Township, and Clinton Township, MI.
Call us today at 586-465-5081 for a FREE painting estimate.
Related: Guide To Choosing A Paint Color For Your Kitchen Cabinets in Richmond, MI
Signs That You Should Repaint Your Kitchen Interior in Washington, MI