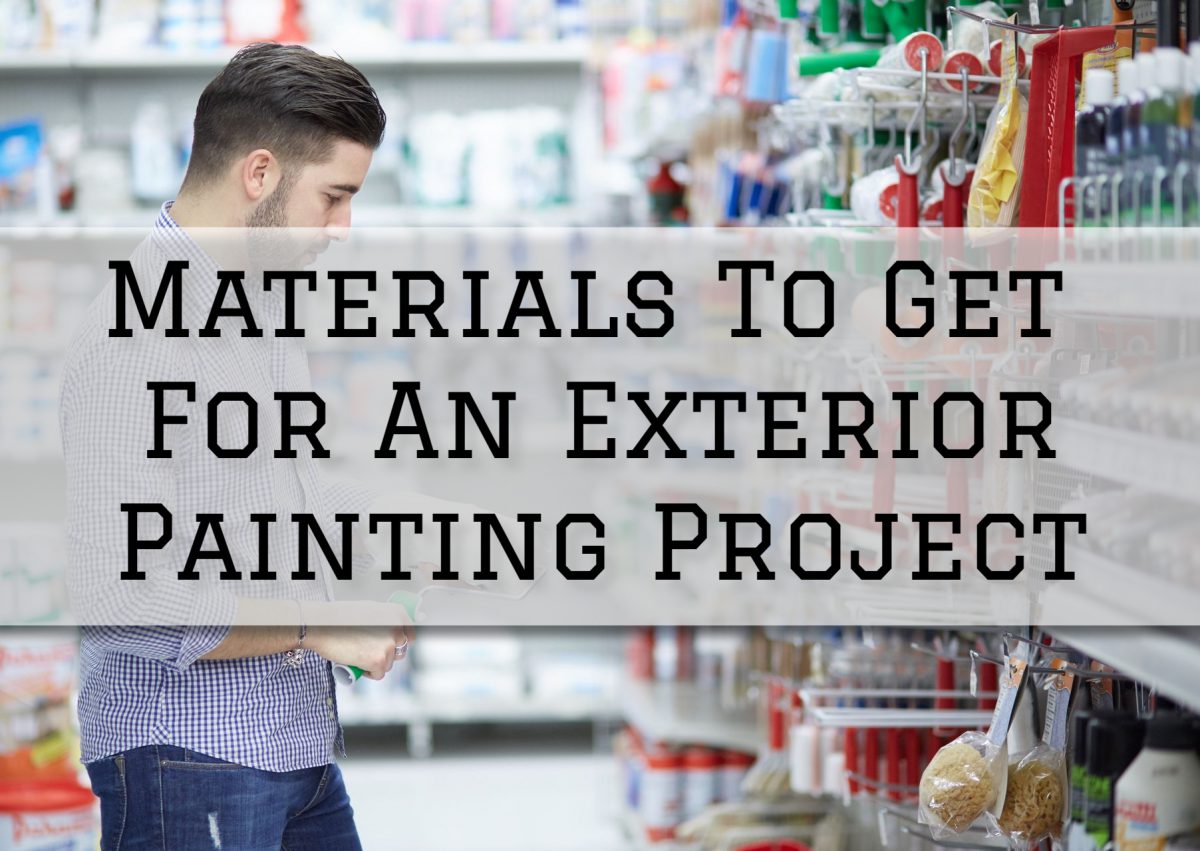
Materials To Get For An Exterior Painting Project in Rochester, MI
Preparing for an exterior painting project can be daunting, especially if you do not know where to begin!
An exterior painting project tends to be a big project that involves a lot of materials, and making sure that you have all you need in your shopping cart can be a confusing task to do!
So, if you are currently looking for assistance as you’re on the way to the paint store, here’s something you can read on the way!
Check out this list of Materials To Get For An Exterior Painting Project.
High-Quality Exterior Paint
The most crucial material for any painting project is, of course, the paint itself.
When it comes to doing an exterior painting project, it’s imperative that you invest in high-quality exterior paint that is specifically designed for outdoor use.
Exterior paint is specifically formulated to withstand harsh elements your exterior is usually subjected to, such as rain, UV rays, and temperature fluctuations.
In turn, this ensures durability and longevity for your coat of paint, ensuring that it will maintain its quality for a longer time.
Surface Preparation Materials
Before applying any kind of paint on your exterior, you must see to it that you undergo proper surface preparation first – to which, you’ll also need to have the materials for it.
Depending on the condition of your home’s exterior, you may need the following materials:
- Pressure Washer: Use a pressure washer to thoroughly clean the exterior surfaces, removing dirt, dust, mold, mildew, and loose paint. Allow the surface to dry completely before proceeding.
- Scrapers: For scraping off loose or peeling paint, use a combination of hand scrapers and power sanders to smooth rough areas.
- Patch and Repair Materials: Fill any holes, cracks, or gaps in the surface with an appropriate filler or patching compound. Once the compound is dry, sand them down for a smoother finish.
- Caulk and Caulking Gun: Seal any gaps or joints in the siding, trim, or other exterior elements with high-quality exterior caulk to prevent water infiltration.
Primer
While most people may overlook its importance in a painting project, this is also exactly the kind of mistake that will lead you to failure.
Thus, don’t underestimate the importance of primer in your exterior painting project, since primer serves these several crucial functions:
- It provides a stable surface for the paint to adhere to, especially on porous or uneven surfaces.
- It helps the paint achieve better coverage, reducing the number of coats required.
- Primer can block stains, knots, and tannins from bleeding through the paint.
- It improves paint adhesion and enhances the durability of the finish.
In applying primer, make sure to clean your exterior surface prior to application, remove any loose or peeling paint, and patch up any damages present on the surface.
Lastly, primer comes in both oil-based and latex-based varieties, so choose one that is compatible with the type of paint you plan to use.
Painting Tools and Equipment
To apply your paint, you will require a set of painting tools and equipment to help you with this.
To have an idea of which materials you should be getting, here is a list of items:
- Paintbrushes: Invest in high-quality paintbrushes designed for exterior use. A 3-4 inch brush is suitable for most surfaces, while smaller brushes can be used for trim and details.
- Roller and Roller Covers: Use a roller with a long handle for large, flat surfaces like siding. Choose roller covers appropriate for the texture of your exterior, such as smooth or rough.
- Paint Tray and Liners: A paint tray with disposable liners makes cleanup much easier.
- Extension Pole: This will help you reach high or hard-to-access areas without the need for a ladder.
- Drop Cloths: Cover the ground and any nearby plants or landscaping with drop cloths to protect them from paint splatters.
- Painter’s Tape: Use painter’s tape to mask off areas you don’t want to paint, such as windows, trim, and hardware.
- Paint Sprayer (Optional): If you have a large area to paint, consider using a paint sprayer for faster and more even coverage. However, using a paint sprayer requires experience to avoid overspray and achieve a smooth finish.
Safety Gear
Lastly, in doing an exterior painting project, your safety should always be a top priority.
Some aspects of doing an exterior painting project can be risky – so to avoid any sort of accidents, here are some safety items you must acquire:
- Safety Glasses: Protect your eyes from paint splatters, debris, and dust.
- Respirator or Dust Mask: Especially important when sanding or working in dusty conditions.
- Gloves: Keep your hands safe from chemicals, rough surfaces, and paint.
- Ladder: Ensure you have a stable ladder that is the right height for your project. Always follow ladder safety guidelines to prevent accidents.
If you need professional help with your interior painting project, Eason Painting can help.
Our home interior painting services are available in Washington Township, Rochester, Romeo, Shelby Township, Harrison Township, and Clinton Township, MI.
Call us today at 586-465-5081 for a FREE painting estimate.
Related: Preparing For An Exterior Painting Project in Romeo, MI
Guide To Choosing A Paint Color For Your Guest Room in Richmond, MI