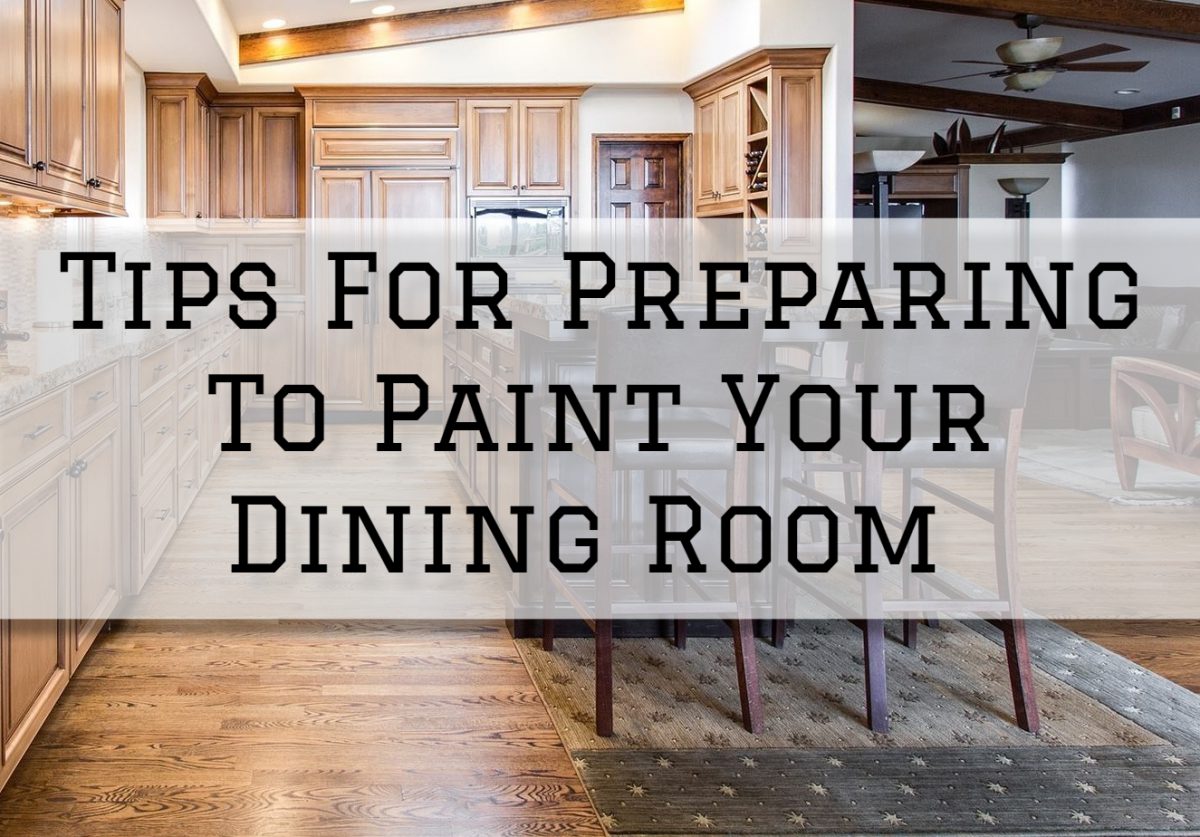
Tips For Preparing To Paint Your Dining Room in Washington, MI
Our dining rooms are a central part of our homes – it holds so many memories of us with our family and loved ones, sharing hearty laughter and stories over the company of warm, delicious food.
So, it is important that we keep our dining room in tip-top shape – and one of the best ways to do that would be to treat our dining room to a fresh coat of paint.
If you’re currently planning a dining room painting project, you should know how to properly prepare for it first.
So, without further ado, here are Tips For Preparing To Paint Your Dining Room.
1. Clear The Dining Room Space
In preparing to paint your dining room, the first thing that you should be doing first would be to clear your dining room space.
It is important that you have your dining room area cleared prior to doing your painting project so you can have more space to freely move as you go through with your painting project.
Clearing your dining room space also saves you so much hassle and problems that you could encounter in your painting project.
For example, having various furniture and things in your dining room while you’re painting could increase your chances of slipping or tripping over something, which could easily be a mess especially when you’re handling paint.
So, to avoid this, you should remember to clear your dining room space prior to painting.
2. Look At The Lighting Present In The Space
When you’re planning your dining room painting project, one of the first things that you will have to do would be to choose a paint color to employ in your project – and in doing so, you should consider the lighting present in your dining room space.
This is because lighting has a significant effect on how your paint color will eventually look once it is painted on the surface – depending on the lighting present, your coat of paint can look shades darker or lighter than what it initially looked like.
To be sure of the outcome, you can check paint samples under your dining area so you can see how the lighting present influences your choice of paint color, or do a test paint on a small portion of your dining room to see how your chosen paint color will look once it is actually painted on the surface.
3. Examine The Colors In The Room
Another thing you should consider in choosing a paint color for your dining room painting project is the colors already present in your dining room.
Essentially, you would want to end up with a paint color that matches and goes well with the colors present in your dining room – this includes your table, your furniture, and various dining fixtures and essentials you might have in the room.
4. Gather All Necessary Materials
When preparing for a dining room painting project, it is important that you gather all necessary materials ahead of time.
Preparing all necessary materials prior to your painting project will save you so much time and hassle that might arise at any time in your project.
For example, it’ll be such a waste of time to suddenly pause in the middle of your painting project because you need to run again to the store to gather more materials needed.
It does not only waste your time, but also delays your progress, and is such a hassle on your part, especially if you’re doing it on your own.
So, to keep your project process as smooth and seamless as possible, take this tip and keep it in mind.
5. Don’t Forget Surface Preparation
Lastly, an important preparation tip that really comes in handy when you’re preparing for a dining room painting project would be not forgetting proper surface preparation.
Surface preparation includes inspecting your surface for any signs of damage, getting them fixed accordingly (if any), and making sure that the surface is clean and even.
Proper surface preparation is important in any painting project because it ensures that the surface you’re planning to paint will be at its best state for painting, to ensure a cleaner and better paint finish in the end.
If you need professional help with your interior painting project, Eason Painting can help.
Our home interior painting services are available in Washington Township, Rochester, Romeo, Shelby Township, Harrison Township, and Clinton Township, MI.
Call us today at 586-465-5081 for a FREE painting estimate.
Related: Signs To Repaint Your Kitchen Cabinets in Richmond, MI
Signs That You Should Repaint Your Kitchen Interior in Washington, MI